# 快速入门
# 简单入门demo
1.导入iflydocs_android_sdk.aar库
2.在对应的view的布局文件中加入
文字文档
文字文档编辑区
<com.iflytek.sdk.IFlyDocSDK.view.IFlyDocsEditorView
    android:id="@+id/webview"
    app:editorViewName="sheet"
    android:layout_width="match_parent"
    android:layout_height="match_parent"
    android:overScrollMode="never">
</com.iflytek.sdk.IFlyDocSDK.view.IFlyDocsEditorView>

文字文档菜单区
<com.example.myapplication.fragment.note.view.NoteToolbarExt
     android:id="@+id/note_toolbar"
     android:layout_width="match_parent"
	 android:layout_height="wrap_content"
     android:orientation="vertical" />
表格文档
表格文档编辑区
<com.iflytek.sdk.IFlyDocSDK.view.IFlyDocsSheetEditorView
     android:id="@+id/webview"
     app:editorViewName="sheet"
     android:layout_width="match_parent"
     android:layout_height="match_parent"
     android:overScrollMode="never">
</com.iflytek.sdk.IFlyDocSDK.view.IFlyDocsSheetEditorView>
表格文档菜单区
<com.iflytek.sdk.IFlyDocSDK.toolbar.sheetToolbar.SheetToolbar
      android:id="@+id/note_toolbar"
      android:layout_width="match_parent"
      android:layout_height="wrap_content"
      android:orientation="vertical"/>
3.在Fragment中,初始化IFlyDocsEditorView控件和各类触发view控件。
文字文档
//文字文档编辑区
noteView = llContent.findViewById(R.id.webview);

mWebView = noteView.getWebView();

mJSViewModel.setJsIFlyDocsEditorView(noteView);

//文字文档菜单区
noteToolbar = flBottomContainer.findViewById(R.id.note_toolbar);

noteToolbar.initNoteToolbarHelper(llContent, mWebView);
表格文档
//表格文档编辑区
sheetView = llWebContainer.findViewById(R.id.webview);

mWebView = sheetView.getWebView();

mJSViewModel.setJsIFlyDocsSheetEditorView(sheetView);

//表格文档菜单区
sheetToolbar = flBottomContainer.findViewById(R.id.note_toolbar);

sheetToolbar.initNoteToolbarHelper(llContent, mWebView);
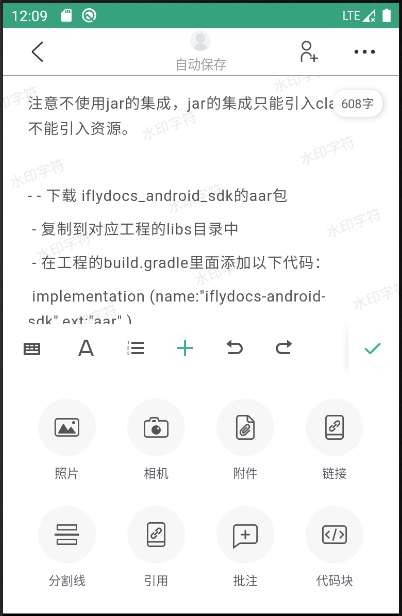
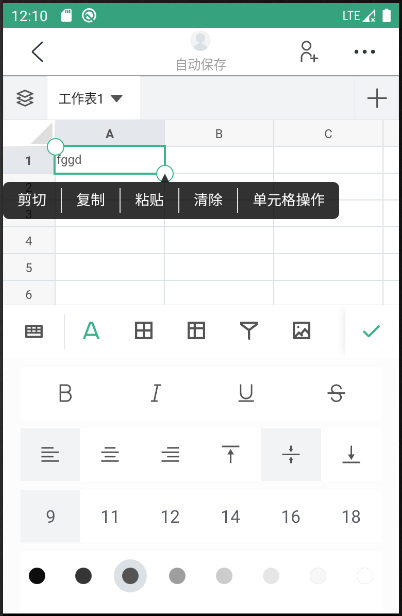
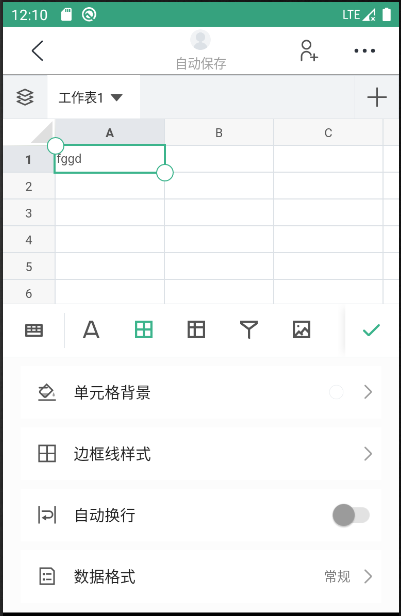
# demo中截图展示

分别是软键盘,样式,action,查找,撤销,回撤等界面的展示;中间的内容展示界面IFlyDocsEditorView控件。